

A Calm, Practical Guide to Knowing the Birds Around You
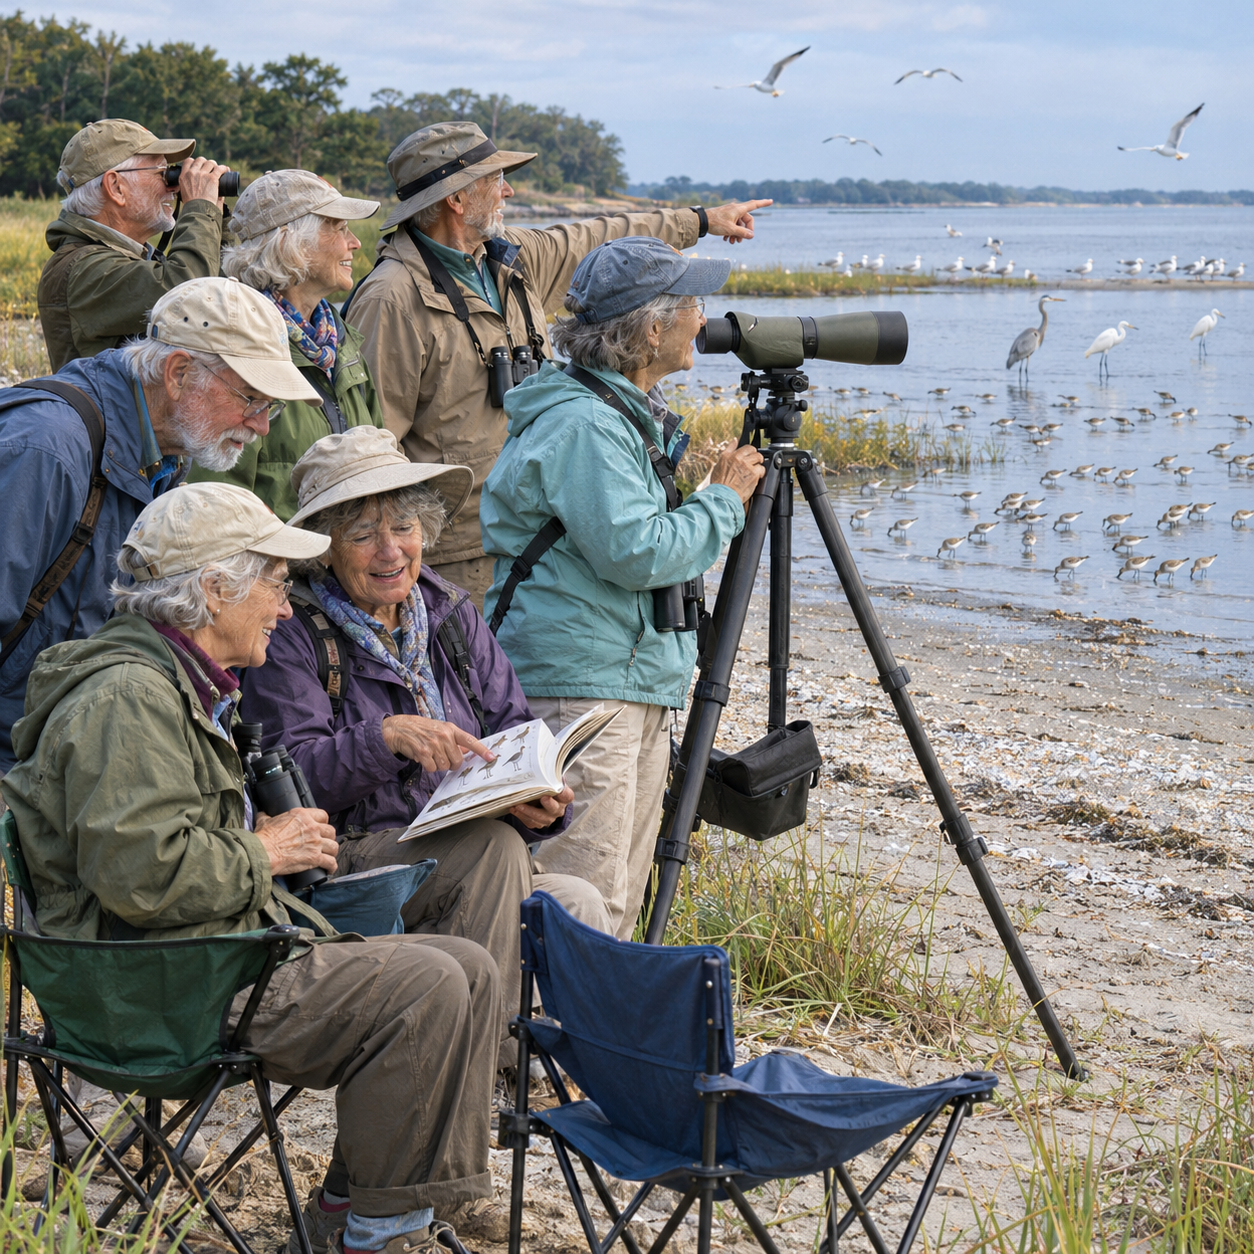
Bird identification can feel like a puzzle. A bird flashes through the branches, turns away just as you raise your binoculars, and disappears before you can decide whether it was a sparrow, a warbler, or something else entirely. That happens to every birder. It can feel especially discouraging when your eyes tire, your hands are less steady, hearing is not what it used to be, or you simply do not want to spend the day hurrying after birds.
Here is the reassuring part: identifying birds does not require perfect eyesight, expensive equipment, a long hike, or a memory packed with species names. It is a skill built from noticing. You can work at your own pace, use the clues that are easiest for you, and enjoy a bird even when you do not learn its exact name.
A useful goal is not “identify every bird.” It is “notice a little more each time.” The shape of a bird, the way it moves, the place it chooses, and the sound it makes can all help. You can learn one familiar bird at a time, from a porch, a bench, a window, a local park, or a favorite trail.
Start with the bird you can see
When a bird appears, try not to reach for a name immediately. Give yourself a moment to watch. A first guess can lead us to notice only the details that support it. Instead, collect a few clues before deciding.
Ask four simple questions:
Where is it? On the ground, at a feeder, on a trunk, in a shrub, high in a tree, or flying overhead?
What is its overall shape? Is it round or slender? Long-tailed or short-tailed? Does it have a large head, a long neck, or a straight bill?
How does it move? Does it hop, walk, climb, hover, plunge, or flick its tail?
What colors or patterns stand out? Look for a bright patch, pale eyebrow, wing bars, spots, streaks, or a contrasting tail.
You do not need to answer every question. Even two good observations can narrow the possibilities. “Small bird, on the ground under the feeder, hopping with a long tail” is a useful description. “Brown bird” is a start, but it does not give you much to work with yet.
Learn the shape before the details
Color can be helpful, but it changes with light, distance, shade, and the bird’s angle. Shape often stays more dependable. Before concentrating on tiny markings, notice the bird’s proportions.
Compare the head to the body. Is the bill short and stout, thin and pointed, hooked, or long and curved? Is the tail about the length of the body, much longer, or barely visible? Are the legs long enough to make the bird look tall, or tucked close to its body?
You can also notice the bird’s general “jizz”—the impression created by its size, posture, shape, and movement. Birders use this word for a reason: sometimes a bird looks familiar before you can name the field marks. That first impression is worth recording, but check it against other clues before settling on an identification.
A good habit is to describe the bird in plain language: “chunky, short-tailed bird with a thick bill,” or “slender bird with a long tail and quick, bouncing flight.” Those descriptions are more useful than trying to memorize a list of technical terms all at once.
Use a few field marks, not every field mark
Field marks are visible features that help distinguish one bird from another. You might notice a stripe over the eye, a ring around the eye, a patch on the wing, a dark bib, a spotted chest, or a white edge on the tail.
It can be tempting to study every feather pattern in a field guide. Resist that urge at first. Choose one or two noticeable marks and ask whether they fit the bird you are considering. If the bird is mostly hidden, the shape of its bill or the pattern on its head may be more visible than its belly. If it is in flight, the wing shape or tail pattern may be the best clue.
Look at the whole bird, then zoom in mentally on one feature. “A white eyebrow and a short, pointed bill” is easier to remember than a long checklist of details. When you look the bird up, compare your observed marks with the illustrations or photographs. Do not count a mark you could not actually see.
Let habitat help you narrow the choices
Habitat is a helpful clue because birds use particular places to find food, shelter, and nesting sites. A bird searching for insects on a tree trunk is behaving differently from a bird picking seeds on the ground. A long-legged bird beside a pond belongs to a different group of possibilities than a tiny bird visiting flowers.
Think of habitat as context, not proof. A bird can turn up somewhere unexpected, especially during migration or after a storm. Still, asking “What kinds of birds usually use this place?” gives you a sensible starting point.
Notice the layer where the bird is feeding or resting: ground, low plants, shrubs, trunks, canopy, or open sky. Then consider what the bird is doing there. Is it probing, gleaning, scratching, catching insects in the air, or sipping nectar? Habitat and behavior together can point you toward a family of birds before you have a species name.
Watch the behavior
Behavior can be easier to see than subtle color, and it often helps separate similar-looking birds. Does the bird repeatedly dip its tail? Climb headfirst down a trunk? Hover in front of a flower? Walk through shallow water? Fly out from a perch to catch an insect and return to the same spot?
Spend a little time watching before you look down at a guide or phone. Repeated actions are especially useful. A single tail flick may be accidental; a bird that keeps pumping its tail is showing you a pattern. Notice how it travels through the habitat, too. Some birds stay low and disappear into brush, while others move confidently across open ground.
Behavior also makes birding enjoyable when the name remains uncertain. You can follow the bird’s routine, wonder what it is finding, and appreciate how it uses its surroundings. That is real birding—not a consolation prize for failing a quiz.
Listen in a way that suits you
Birding by ear is often the key to locating birds in the first place. Picture yourself walking a forest path with not a bird in sight. Then you hear some scratching in the leaf litter, a soft chip from mid-level branches and a call note from the canopy that is quickly answered by a similar call a few trees away. Certainly birding by ear can be rewarding, but it does not have to be a requirement. If hearing high notes or separating overlapping songs is difficult, use visual clues first. You can still learn a few common calls at a comfortable pace.
Start with sounds that are distinctive and easy to recognize: a repeated “cheer,” a harsh scolding call, a clear whistle, or a familiar series of notes. Learn the sound of one bird you see often, then listen for it again. A recording or a birding app can help you review a sound later, when you are not trying to watch the bird at the same time.
If you use a phone or hearing device, consider what is comfortable. You might listen through headphones at home, use a speaker quietly, or ask a companion to describe a sound. Avoid playing bird calls to draw birds closer in places where that could disturb them. Your birding experience can include sound, sight, movement, and habitat in whatever balance works for you.
Make field guides and apps work for you
A field guide is most useful when it helps you compare a small group of likely birds. Start with the birds common in your region or habitat, rather than flipping through the entire guide. Look at the range map, habitat notes, size, shape, and key field marks. Compare similar species side by side.
A birding app can offer quick suggestions from a description, photo, or recording. Treat its result as a lead, not a verdict. Apps may suggest a bird that is rare in your area or overlook details that are clear to you. Check the result against the bird’s range, season, habitat, and the marks you observed. If a suggestion does not fit, you are allowed to disagree with the app.
Make the tools comfortable to use. Increase phone text size, use a larger screen when possible, and keep a simple note of birds you want to learn. A pocket field guide may be easier than a phone for some outings; for others, a phone’s zoom and audio playback are useful. There is no single right setup.
Binoculars should fit your hands and eyes
Binoculars can make field marks easier to see, but the best pair is the one you can hold and use comfortably. Weight, grip, focus wheel, eye relief, and how the binoculars work with glasses all matter. If possible, try several pairs before buying. A lower magnification can feel steadier for some people, while others prefer a different view. Comfort and ease of use are personal.
Give yourself time to practice. Begin by looking at a large stationary object, then lower the binoculars and raise them back to your eyes while keeping the object in view. At first, use binoculars to confirm a bird you have already located with your unaided eyes. Searching through the lenses can be frustrating, especially when the bird is moving.
If carrying binoculars is tiring, use a strap or harness that distributes their weight, bring them only for part of an outing, or choose a nearby viewing spot where birds come to you. A window, feeder, garden bench, or accessible overlook can provide excellent practice.
Build a small personal bird list
You do not need to learn dozens of birds at once. Pick a few that are common where you live and likely to appear in the same places. Get to know one well: its shape, favorite foods, calls, movement, and the seasons when you see it. Then add another.
A notebook can help, but it does not need to be elaborate. Write down the date, place, and a few clues: “small gray bird, black cap, visited suet,” or “large dark bird circling over field, wings held in a shallow V.” Sketching a simple outline can be useful even if you do not think of yourself as an artist. The goal is to preserve what you noticed so you can compare it with a guide later.
You may want to record uncertain birds as “sparrow sp.” or “small hawk” rather than force a species-level answer. That is careful birding. Over time, you will recognize more patterns and feel more confident about when you know—and when you need another look.
Make identification easier on your body
A comfortable birder is more likely to stay curious. Choose level paths, benches, accessible overlooks, or places with nearby parking if those suit you. Go out when the light and temperature are pleasant. Keep outings short enough that you finish with energy to spare.
At home, position a chair near a window with a clear view of a tree, shrub, or feeder. Use a stable feeder placement and keep glass safety in mind. At a park, settle in one place and let the birds come through. You may see more by staying still than by covering a lot of ground.
If your vision, hearing, balance, or dexterity has changed, adapt your methods rather than treating that as a reason to stop. Larger print, a monopod, a phone camera, a companion, a walking aid, or a familiar route may help. Some days you may rely on shape and movement; other days you may enjoy the detail in a close view. Your pace and your place are part of your birding style.
When the bird remains a mystery
Sometimes you will not get enough information to identify a bird. It may be a juvenile, a female that resembles several other species, a quick glimpse, or a bird in difficult light. Even experienced birders leave some birds unidentified.
You can still ask: What did I learn? Which clue would I look for next time? Could I return at a different hour or watch from a better angle? If you share a photo or description with a birding group, include your location, date, habitat, and what you observed. A specific question—“Could this be a kinglet or a warbler? I saw a pale eye ring and a thin bill”—often gets more useful help than “What bird is this?”
The purpose is not to be right on the first try. It is to become more observant, one encounter at a time.
Skill Builder: One bird, three clues
Choose one bird you can watch for several minutes, at home or outdoors. Before checking a guide or app, write down three clues:
Its overall shape or size.
One field mark or color pattern you can see clearly.
One behavior, habitat detail, or sound.
Then use a field guide or app to compare likely options. Which clue helped most? Is there one detail you would look for next time? Repeat the exercise with a familiar bird until its identity feels easier, then choose a new one.
Birding belongs to you
Bird identification can be a lively challenge, a quiet pleasure, or a little of both. You can learn the names of many species, or you can be content recognizing the birds that visit your yard. You can walk, roll, sit, watch through a window, or join a group when company sounds good. The best method is the one that keeps you engaged and comfortable.
The next time a bird appears, take a breath and notice what it is doing. Look for its shape. Find one clear mark. Consider the place it chose. You may discover that the answer comes more easily when you let the clues lead you. And if it does not, you still spent a few moments paying attention to a wild bird. That is a fine reason to keep going.
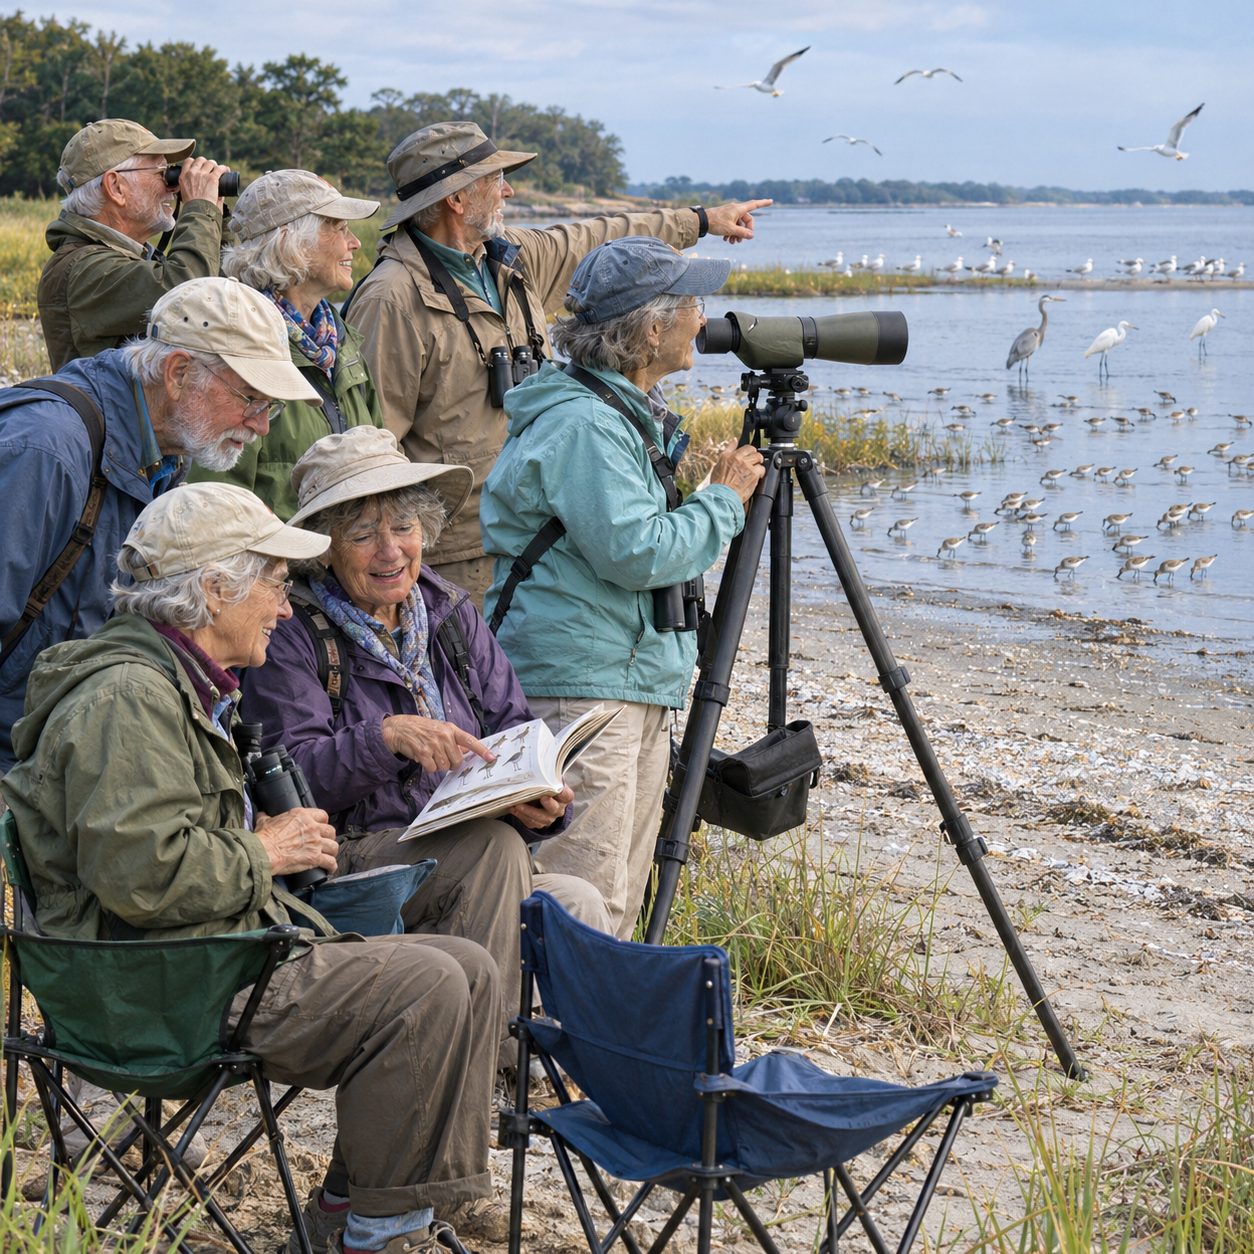


A sustainable backyard can be lively, practical and easierr to care for. Learn how native plants, clean water, safer windows, and two simple DIY projects can help birds - and make your yard more enjoyable for you.