

4 Simple Ways to Add Water to Your Backyard

A bird bath can be a small addition to a yard, but it often becomes one of the most rewarding places to watch. Birds visit to drink, bathe, and preen. And unlike a feeder, a water source may attract birds that aren’t interested in seed.
You don’t need a special kit or elaborate fountain to get started. A shallow dish, a stable place to set it, and fresh water are enough. The best DIY bird bath is one you can keep clean and refill easily—and one that gives birds secure footing and a comfortable way in and out.
Here are four projects, from a quick afternoon setup to a simple moving-water feature. Choose the one that fits your space, materials, and energy.
Before You Build: What Birds Need
Keep the water shallow. Many small birds prefer just an inch or two, and a gently sloping basin lets them wade in gradually. If your dish is deeper, add a few clean stones or a flat piece of slate so birds can stand above the bottom and use different depths. Audubon recommends a shallow pan no more than two inches deep for a simple homemade bath.
The surface matters, too. A very smooth, slick basin can be difficult to grip. Choose a textured dish, or add stones that are stable and won’t shift when birds land. Keep the bath level and secure. A wobbly stack of pots may look charming, but it can tip when a bird lands or when you refill it.
Place the bath where you can see and maintain it, with some shrubs or branches nearby for birds to retreat to. Avoid putting it right beside dense cover where a cat could hide. If you have a window nearby, consider window-collision precautions such as exterior screens or closely spaced decals.
Finally, plan for regular care. Dump and refill the water often, especially in hot weather, and scrub away dirt or algae as needed. Cornell Lab’s birdbath guidance recommends keeping the water fresh and the bath clean. A design that’s easy to lift, empty, and rinse is more useful than one that looks impressive but is hard to maintain.
Project 1: The Simple Saucer Bath
Best for: Beginners, patios, balconies, and anyone who wants a quick setup.
This is the easiest project because it uses a single shallow container. A terracotta plant saucer, sturdy ceramic dish, or shallow metal pan can work. Aim for a basin about 12 to 18 inches across, if you have the space, with a shallow interior and a surface that isn’t slippery.
You’ll need:
A shallow saucer or pan
A stable, level surface
A few clean stones or a piece of slate
Water
Set the saucer on a flat patio stone, low stump, or sturdy table. Check that it won’t rock when pressed at the edge. Add a few stones in the water, leaving some exposed above the surface, then fill the basin only an inch or two deep.
If you’re using a terracotta saucer, check it for cracks and rough edges. Unglazed clay can absorb water and may be more likely to crack in freezing weather, so bring it in when temperatures drop below freezing. A ceramic or metal pan may be easier to clean, but make sure it has no sharp edges or peeling finish.
This simple bath is easy to dump and rinse. That makes it a good choice if you’re new to providing water and want to see how birds use it before building anything more involved. Try moving it to a different spot if birds don’t discover it right away, while keeping it in a safe, open location.
Project 2: The Stacked-Pot Pedestal Bath
Best for: A garden bed or yard where you want the bath raised off the ground.
A pedestal can bring the water closer to eye level and make it easier to see visiting birds. Build one from sturdy, weather-resistant flowerpots and a broad saucer. The key is stability: each piece should sit flat, and the finished structure should not wobble.
You’ll need:
Two or three heavy, sturdy pots
A wide, shallow saucer that fits on top
A level paver or patio stone
Optional: exterior-grade construction adhesive, used according to its label
Place the paver on firm, level ground. Turn the first pot upside down and set it on the paver. Stack the next pot, also upside down, with its opening resting against the base of the pot below. Add a third pot only if the stack remains steady and the top basin will still be reachable for cleaning. Set the saucer on top.
Before adding water, gently press the pedestal from different sides. If it shifts, shorten the stack or choose wider, heavier pots. You can secure the pots with an adhesive suitable for outdoor use, but allow it to cure fully before filling the bath. Keep adhesive away from the water surface.
Add a couple of stones for footing, fill the basin shallowly, and check it again after rain or strong wind. If you live somewhere with hard freezes, bring the saucer indoors or empty it before water freezes. Ice can crack a ceramic basin.
Project 3: A Hanging Bath for a Small Space
Best for: A balcony, porch, or area where a raised dish on the ground might be disturbed.
A hanging bath can save surface space, but it needs a secure support and should not swing wildly in the wind. Choose a shallow, sturdy dish with three or four attachment points, or use a purpose-made hanging planter saucer with a stable chain arrangement.
You’ll need:
A shallow, durable dish with safe attachment points
A sturdy chain or three equal lengths of outdoor-rated cord
A secure hook or beam
A few small stones
Attach the chain or cords evenly so the dish hangs level. Test it with water before placing it outdoors. It should remain steady when gently nudged and should not tilt enough to spill. Hang it from a strong beam or hook, not from a lightweight branch that could break.
Keep the bath low enough to refill and clean comfortably. A hanging bath that requires a ladder for every rinse will quickly become a chore. If you find that it swings too much, shorten the suspension or move it to a sheltered spot. You can also set a stone in the basin to help birds judge the water’s depth.
Watch how birds approach. Some may be wary of a moving bath at first. If it swings frequently, they may prefer a more stable option. In that case, lower it or switch to a stationary saucer bath.
Project 4: Add a Gentle Drip
Best for: Birders who want to experiment with moving water.
The sound and movement of water can help birds notice a bath. You can add a simple drip without installing an electric pump. One option is a small container with a tiny hole that releases water slowly into the basin. Cornell Lab’s water guidance notes that a drip can make a birdbath more attractive.
You’ll need:
A shallow bird bath
A small, clean plastic container with a lid
A way to suspend it safely above the bath
A pin or small drill bit
Make a tiny hole near the bottom of the container. Fill it with water, close the lid, and suspend it securely over the bath so the drops land in the basin. Start with a very small hole; you can enlarge it slightly if the water doesn’t drip. Keep the container steady and check that it won’t fall into the bath.
Alternatively, a small fountain pump can circulate water in a larger basin. Choose a pump designed for outdoor use, follow its instructions, and keep cords protected from weather and foot traffic. A pump needs regular cleaning, and water can evaporate faster in warm, sunny weather. If maintaining equipment sounds like too much, a simple drip or plain saucer may be a better fit.
Make It Your Own, Without Making It Hard to Clean
Decorative touches can make a bath feel at home in your garden, but keep the water area simple. Avoid coatings or finishes inside the basin unless they are explicitly made for constant water contact and safe for the intended use. Don’t add soaps, oils, or chemicals to the water. Birds need clean water, not additives.
You can make the bath more natural with stones, slate, or a branch placed so it rests securely. These give birds more places to perch and can create a range of shallow depths. Audubon’s bird-care FAQ also suggests using slate or larger stones to vary the depth and provide spots above the water.
Think about your maintenance routine as part of the design. Can you reach the bath easily with a brush? Can you tip it out without lifting a heavy pedestal? Is it close enough to a hose or water source? A few practical choices now will make it much easier to keep the bath inviting through the season.
On warm days, check the water daily. Empty and refill it when it becomes dirty, and scrub the basin regularly. If algae or grime builds up, use a dedicated brush and rinse thoroughly. Avoid letting stagnant, visibly dirty water sit for long periods. Clean water and a clean basin make a better place for birds to drink and bathe.
A Few Troubleshooting Tips
No birds yet? Give them time. Place the bath where birds can spot it, keep it filled, and make sure there’s a safe perch or shelter within reach. You might try moving it a few feet if the area is too exposed or too crowded with activity.
The water gets dirty quickly? Falling leaves, dust, and bird droppings are normal. A smaller, easy-to-empty basin may be simpler to maintain. Refresh the water more frequently during hot weather.
Birds perch nearby but don’t bathe? Check the depth and footing. Add a stable stone or slate, reduce the water level, or choose a dish with a gentler slope. Some birds may come only to drink.
The bath freezes? Empty a fragile basin before a hard freeze, and never try to break ice in a ceramic dish. If you want to provide open water in winter, use a birdbath and heater designed for outdoor use, following the manufacturer’s directions. Otherwise, offer water when temperatures allow and keep the setup safe and manageable.
Skill Builder: Watch Who Uses the Water
For one week, spend five quiet minutes observing your bird bath. Note which species visit, whether they drink or bathe, and where they perch before approaching. Does one bird use the stones while another prefers the edge? Do visitors arrive at a certain time of day?
Use what you notice to make one small adjustment. You might lower the water level, move a stone, or shift the bath to a more visible spot. Then observe again. This simple practice builds your birding skills while helping you learn what makes your particular yard welcoming.
A DIY bird bath doesn’t need to be complicated to make a difference. Start with a shallow dish, place it securely, and keep the water fresh. Once you see how birds use it, you can decide whether to add a pedestal, a hanging setup, or a gentle drip. The best project is one that fits your backyard—and that you’ll enjoy caring for.
Further reading:
the Rather Be Birding article “The Complete Bird Bath Guide”
the Rather Be Birding article “Small Backyard Water Features”
the Rather Be Birding article “Bird Baths & Water Features - the Heart of a Backyard Bird Sanctuary”

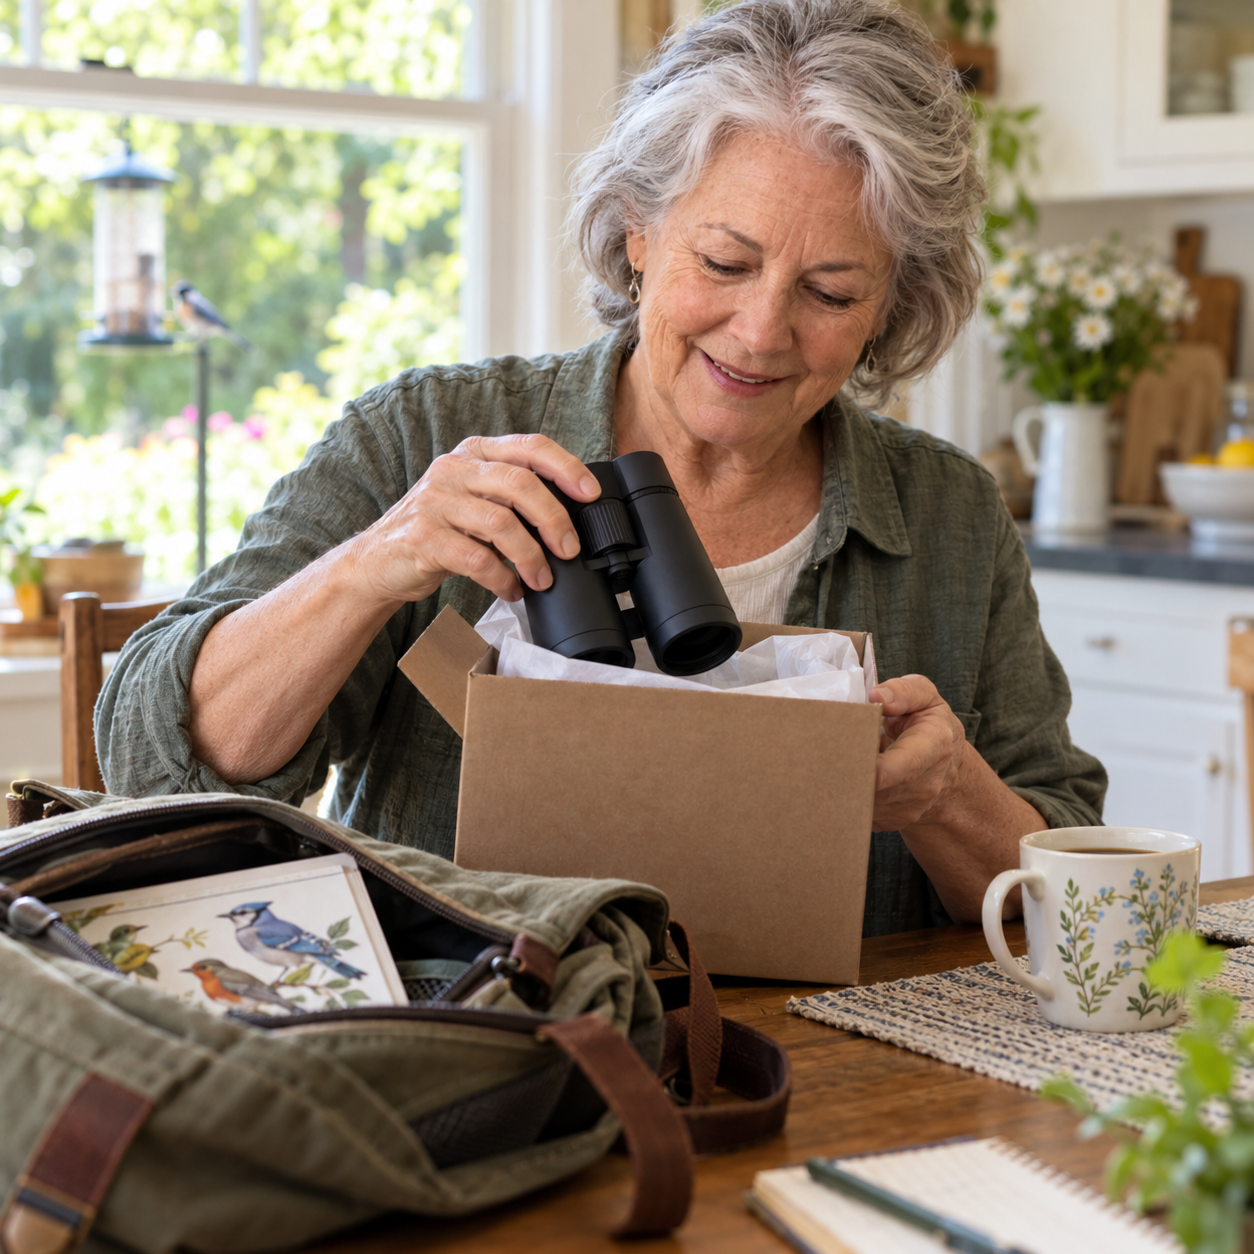

A bird bath can be simple to make and rewarding to watch. Try one of these four DIY projects, then learn how to keep the water fresh and inviting for backyard birds.